14313
How to change the class names and colors of an ENVI classification image in ENVI 5.x
Sometimes it is desirable to change the names and colors of a classification image to better represent the classes and make it more visually informative. This may be especially true if using an unsupervised classification result in which the names and colors of the classes are automatically selected by ENVI.
Currently in ENVI 5.x, there is no access to the ENVI Classic Class Color Map Editing tool from the Classification toolbox. However, you can access a similar tool from the Edit ENVI Header tool.
From the ENVI toolbox, open the Edit ENVI Header tool (Raster Management->Edit ENVI Header). Select the classification image as input. In the Edit ENVI Header dialog, go to Edit Attributes ->Classification Info. A dialog will appear requesting the number of classes to use.
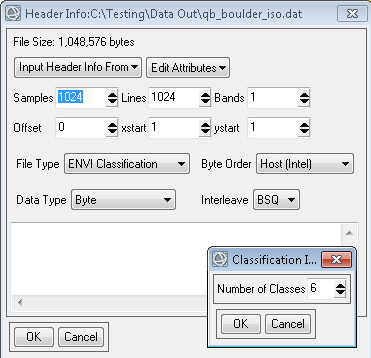
It should default to the correct number of classes, which will be the number of classes defined in the image plus the "Unclassified" class. The Unclassified class must always be present even if no pixels are unclassified. For example, if I have a classification image with five classes defined, the total number of classes (with the Unclassified class) will be six.
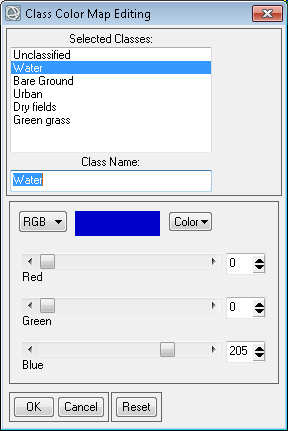
After you select the number of classes, you are presented with the Class Color Map Editing dialog. Here you can change the name of the classes and assign the desired color to the class.
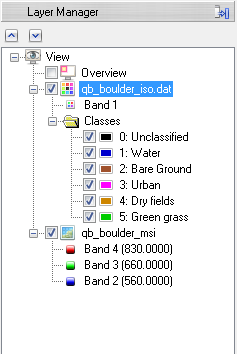
After you have assigned the names and colors as desired, select OK to accept the changes and then OK to accept the changes in the ENVI Header dialog. The image will be removed from the Layer Manager and closed. It is necessary to close the file and reopen it because the header file now has new information about the file and must re-read the file to show the changes that have been made. Once the file is re-opened, the changes to the classification file will show up in the display and Layer Manager.
Reviewed MM, PS 10/10/2014