Tutorial: Creating Custom PowerPoint Reports in ENVI Tutorial
You can chip ENVI views to PowerPoint presentations. ENVI provides predefined templates that provide the layout and elements of the presentation, such as text, images, and north arrow. You can customize the configuration of a predefined template and save it to a new file, and you can create and configure a custom PowerPoint template from scratch. Custom templates and configurations can be shared with other ENVI users by publishing them to the ENVI Repository.
See the following sections:
Chip the View
- Display what you want to chip in a view. It can be in a single view or multiple views, and it can contain images, vectors, regions of interest (ROIs), or raster series.
- Optionally, use the Zoom, Pan, Rotate, enhancement, and annotation tools to refine the display.
Note: PowerPoint does not support text outlines. Outline styled text will be replaced with a drop shadow in PowerPoint.
- From the menu bar, select File > Chip View To > PowerPoint. Or, click the Chip To PowerPoint button
 in the toolbar. The Chip to PowerPoint dialog appears.
-
Select the template to use from the Template drop-down list (see the sections Template Tips and Predefined Template Examples for additional information). If you do not want to use a template, select (No template).
When you select a template in the Chip to PowerPoint dialog, an overlay on the view shows the area that will be included in the chipped result, at full resolution. This is called the view chip window. The darker areas outside of the window will be cropped in the PowerPoint presentation. To resize the window, click and drag one of the four cyan-colored corner handles. To center the chip over a different location, click and drag the cyan-colored center handle. Resizing the view chip window will change the resolution of the pixels within. The correct aspect ratio will always be maintained when you resize or move the window.
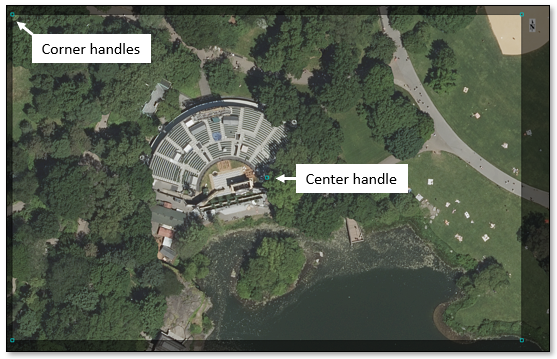
If needed, maximize the ENVI application and detach the Layer Manager and Toolbox to maximize the viewable area and ensure the best presentation quality.
- Select one of the following options from the Target Presentation drop-down list:
- To chip the view to a new PowerPoint presentation, select (Start a new presentation).
- To append the chip to an existing PowerPoint presentation, select the presentation name from the drop-down list (click the Refresh List button
 to update the list, if needed). If the presentation is not currently open, click the Open Target Presentation button to open the .pptx or .ppt file.
-
If you want to edit the template configuration before chipping the view, click the Configure Template button  . See Configure and Save Templates for details.
-
By default, any text annotations will be replicated in PowerPoint when you chip the view and you can further edit the font properties in PowerPoint.
If you want to burn the text into the chip instead, click the drop-down arrow  next to the Chip button and select Burn Texts into Chip. You will not be able to edit the text in PowerPoint after the chip is created.
- Click the Chip button.
- If the chipped view contains a raster series, ENVI will ask if you want to insert the raster series in the presentation as a Video Animation or as a Still Image. To see the ENVI prompt, you may need to minimize the PowerPoint window to see the ENVI Chip View Option dialog. The in the dialog, select an option. For Video Animation, also enter the number of seconds between frames.
- Optionally, you can export the current slide to a PNG image. Click the drop-down arrow next to the Chip button and select Export Slide to Image. Enter the Height of the image in pixels. The output image will maintain the correct aspect ratio according to the height. Enter a Filename for the (.png) and click OK.
Template Tips
-
To add a new PowerPoint .pptx or .ppt template file to the Chip to PowerPoint dialog options, select File > Chip View To > PowerPoint. In the Chip to PowerPoint dialog that appears, click the New Template button  and open the PowerPoint file. The new template will be added to the Template drop-down list.
-
To open a new configuration file for a template and add it to the Chip to PowerPoint dialog options, select File > Chip View To > PowerPoint. In the Chip to PowerPoint dialog that appears, click the Open Configuration File button  and open the .ept file. The new configuration file will be added to the Template drop-down list.
-
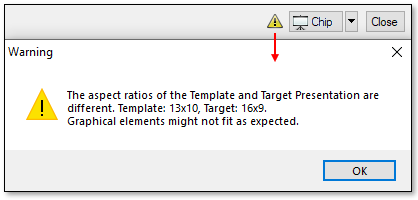
Avoid mixing different templates in the same PowerPoint file because they may contain different aspect ratios, which can result in poor presentation quality. If you attempt to do this, a warning icon appears next to the Chip button. Click the icon to display a warning message similar to the following:
-
If you do not select a template, the chipped view is added to a PowerPoint presentation as-is, with no additional formatting. If the source image contains map information, the geographic coordinates of the center of the chipped view will be added to the Notes Section at the bottom of the PowerPoint slide. For example:
  The center of the image is located at the following coordinates:
* Lat,Lon DMS: 40°0'17.58"N, 105°12'22.18"W
* Lat,Lon DD: 40.00488301N, 105.20616103W
* Map: 482403.4032, 4428319.5364
* Proj: UTM, Zone 13N, WGS-84
* MGRS: 13TDE8240328320
Configure Templates
ENVI's predefined PowerPoint templates can be used as-is, or you can modify and save them as a new, custom template configuration to use in future ENVI sessions. You can also create and configure a custom PowerPoint template from scratch, see the Creating Custom PowerPoint Reports in ENVI Tutorial. You can share custom templates and configurations with other ENVI users in the ENVI Repository.
Each predefined ENVI template uses two files:
- A PowerPoint .pptx or .ppt file containing placeholders for text, images, and so on.
- A corresponding .ept configuration file that defines the content to put into each PowerPoint file placeholder.
If you modify a template, you can save it as a new .ept file that will not overwrite the original configuration file. Multiple custom configuration files can be associated with a .pptx or .ppt file.
Using the ENVI Briefing predefined template as an example:
- ENVI Briefing.pptx contains the placeholders for text, images, etc.
- ENVI Briefing.ept maps the ENVI elements to the placeholders.
-
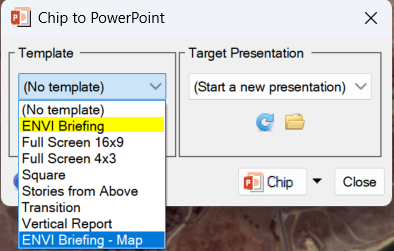
You edit the default configuration by adding or removing elements, then save it to a new configuration to a file, named ENVI Briefing - Map.ept. Both template configurations s will now be available in the Templates drop-down list:
The predefined templates are installed under C:\Install_Dir\ENVIxx\resource\templates\presentations, which typically does not have write permission. When you save a customized template, the new .ept file will be saved to the directory specified in the Auxiliary File Directory preference (the default is C:\Users\username\.idl\envi\auxiliaryx_x).
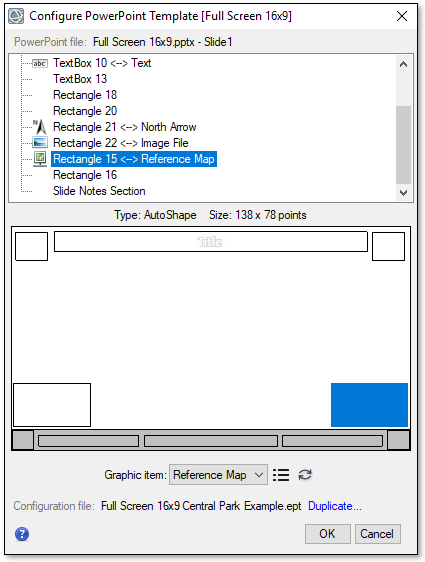
To modify a template, click the Configure Template button in the Chip to PowerPoint dialog. The Configure PowerPoint Template dialog appears.
The PowerPoint placeholders in the template are listed at the top of the dialog. Click on a list item to highlight the location of it in the graphical view. Or, click on the shape in the graphical view to highlight it in the list. For example:
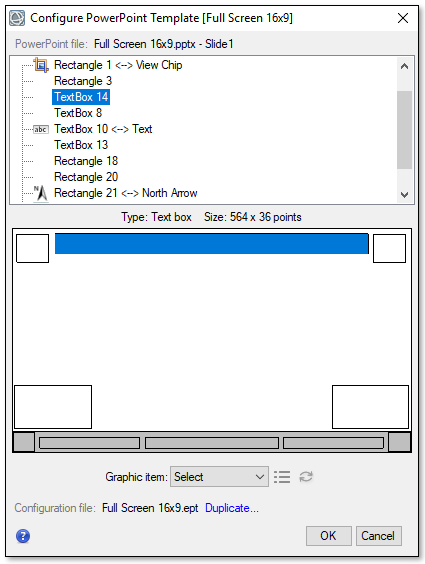
Items in the list that are mapped to an ENVI graphical element have a <--> symbol next to them and specify what they are mapped to, such as a View Chip, Text, Image File, North Arrow, or Reference Map. In the example below, Rectangle 5 is mapped to View Chip, specifying that the chipped image will display in the large rectangle.
To map an ENVI element, do one of the following:
- Select a PowerPoint placeholder in the list. Right-click and select the ENVI element to associate it with. The choices are View Chip, Text, Image File, North Arrow, and Reference Map.
- Select a PowerPoint placeholder in the list, then select an option from the Graphic item drop-down list near the bottom of the dialog.
- Right-click on the graphical representation of the PowerPoint placeholder and select an option.
- The last entry in the element list is Slide Notes Section. You can add text that will be shown in the Notes Section in the PowerPoint slide. Right-click on Slide Notes Section and select Text. Then double-click to enter free text or add any of the text strings described in Text Properties.
To remove the association between a PowerPoint placeholder and an ENVI graphical element, right-click on the element and select Reset Element.
To omit a placeholder from the template slide, right-click on it and select Delete. You can also delete unwanted items from the slide in PowerPoint after chipping the view.
When you are finished editing the configuration, click OK. ENVI will display a message that it cannot overwrite the default configuration file; to save the new configuration, enter a new filename.
The next section describes the ENVI graphical elements and their properties.
Element Descriptions and Properties
View Chip Properties
Double-click the View Chip element to define where the chip will display in the PowerPoint slide. The View Chip properties dialog appears:
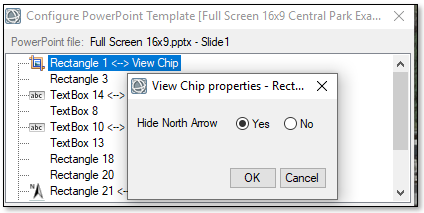
The Hide North Arrow setting for the View Chip property is set to Yes by default, which means the chipped image will not include the north arrow as it appears in the ENVI view. Each predefined template contains a separate North Arrow element for the PowerPoint slide that you can customize and move to any location. You can also create your own north arrow using PowerPoint's graphic tools after chipping the view. If you want to use the ENVI north arrow, set this property to No and reset the North Arrow element so it will not be used.
Text Properties
Double-click a Text element to enter any combination of free text and special strings in the Text properties dialog.
If the currently selected view has the appropriate georeferencing information and acquisition time metadata, you can use the following special strings in your text. ENVI will extract the values from the image metadata.
North Arrow Properties
Double-click the North Arrow element to set properties in the North Arrow properties dialog. Set the Size (in points), Arrow Color, and Font Color for the north arrow and click OK. Also see the discussion about north arrows in the View Chip section above.
Reference Map Properties
Double-click the Reference Map element to display the Reference Map properties dialog. Choose the type of reference map to display from the Type drop-down list:
-
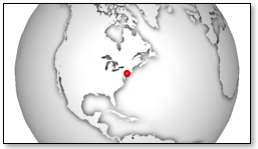
3D Globe: A 3D reference map that shows the location on a global scale:
-
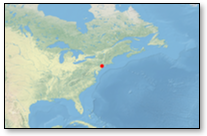
Natural Earth: A natural-color, shaded-relief map that shows the location at a continental level:
-
Country Shape: An outline map that shows the country where the view is located:
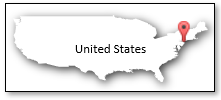
-
Online Map: An ArcGIS Online base map that shows the location on a local scale (requires Internet access):
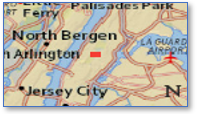
Image File Properties
If you have added an Image File element to the chip, double-click it to open the Image File properties dialog.
Select an Image File to use for that element. The Adjust Shape and Anchor properties control how the image will fit into the target shape in PowerPoint when the aspect ratio of the image is different than that of the target shape. An example is fitting a long, horizontal logo into a square shape:
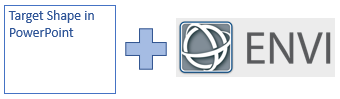
Select an option from the Adjust Shape drop-down list. These options will resize the image to fit into the shape while maintaining the aspect ratio of the image. The following are the choices:
- Adjust Width
- Adjust Height
- Adjust None.
The Adjust None option will squeeze the full image into the target shape.
Then select an option from the Anchor drop-down list to specify where to adjust the shape to accommodate the resized image. The following are the choices:
- Center
- Left
- Right
- Top
- Bottom
See the next section for details on how to save an edited configuration file and
Publish Custom Templates to an ENVI Repository
You can share custom templates and template configurations with other ENVI users by publishing them to the ENVI Repository.
- From the ENVI menu bar, select File > Chip View to > PowerPoint. Or, click the Chip To PowerPoint button in the toolbar. The Chip to PowerPoint dialog appears.
- Select the template to publish from the Template drop-down list.
- Click the Publish Template to Repository button
 in the Template section of the dialog.
- The template name appears in the Name field. You can optionally edit the name.
- The Description "ENVI PowerPoint Template" appears. You can optionally edit the description.
- Enter a Version number for the template (example: 1.0.0). This number can be incremented if the template already exists and you are publishing a new version of it.
- The entries in the Tags field are used to filter searches in the ENVI Repository Browser. "PowerPoint" and "Template" are the default entries. You can enter additional tags, using a comma to separate each entry.
- From the Repository drop-down list, select a registered repository to which to publish the template. Or, enter the URL and port number for an ENVI Repository server.
- Click OK to upload the template files to the ENVI Repository.
Download Custom Templates from an ENVI Repository
-
Select Share > Browse ENVI Repository from the ENVI main menu. The ENVI Repository Browser dialog appears. The ENVI Repository tab lists the packages and templates that are available to download, and the Installed Packages tab shows the packages and templates that have been downloaded to your machine.
You can filter the list by selecting an option from the Filter by Type drop-down list, or you can use the Search field to search on a specific term. To refresh the list of available templates , click the Reload button.
- To download a template to your machine, click the green Install button to the right of the template details.
- Add the files to the Chip to PowerPoint template options, as described in Template Tips.
Predefined Template Examples
This section shows examples of ENVI's predefined PowerPoint templates.
ENVI Briefing: A slide designed for analyst briefings; for example:
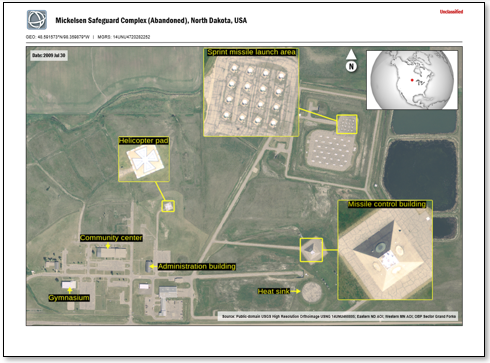
Full Screen (16x9): Fills an entire slide with the chipped area using a 16:9 presentation view ratio. The layout emphasizes the chipped view with minimal text and graphics; for example:
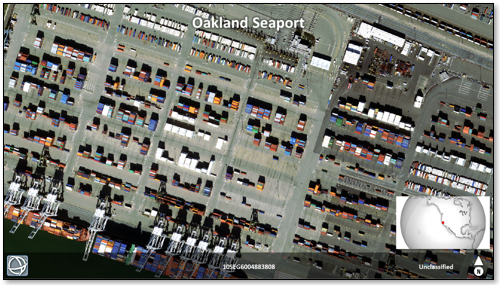
Full Screen (4x3): Similar to the (Full Screen 16x9) template but uses a 4:3 presentation view ratio; for example:
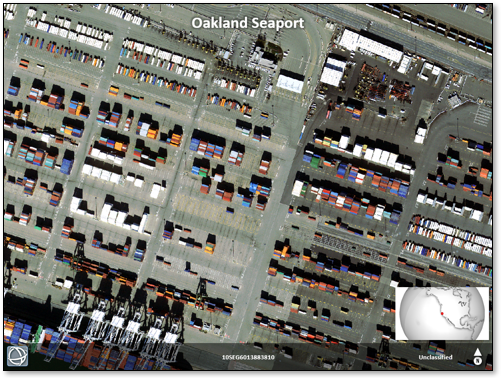
Stories from Above: Provides space to write a brief story about the contents of the view; for example:
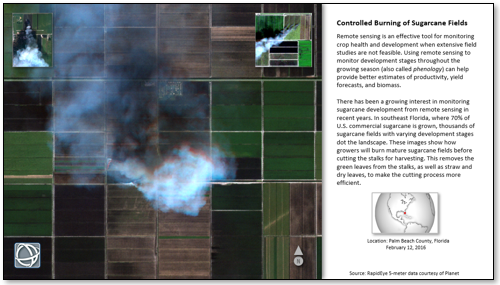
Transition: Provides a transitional element where the view contents fade into black. The faded area provides space to describe the view; for example:
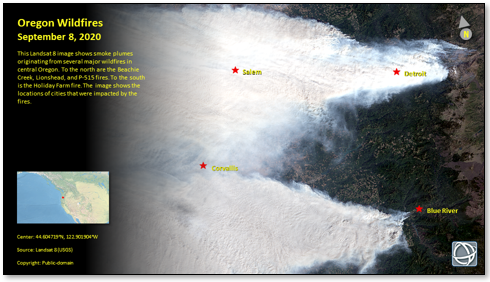
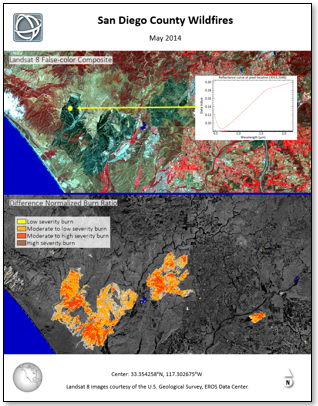
Vertical Report: An 8.5" x 11" slide suitable for printing on letter-size paper; for example:
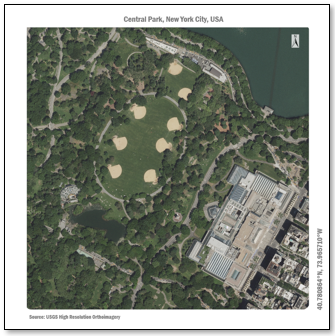
Square: A stylish template suitable for exporting as an image for social media; for example:
See Also
Annotations, Views, Save and Chip Output