Use Xtreme Viewer to perform fast animation when you have hundreds of raster bands, frames in a MIE4NITF series, or NITF image segments.
With Xtreme Viewer you can view the animation in a forward or backward order, change the Frames Per Second on-the-fly (up to 30 FPS), step through frames one at a time, bookmark frame views to return to later, and apply a contrast stretch.
Open Xtreme Viewer in one of the following ways:
If you pause animation and move the cursor to the top-left corner of the main view, an overview window will appear. The red box inside the overview window shows the extent of the current view, relative to the entire image. To change the area shown in the main view, pan around inside the overview window, or press left mouse button and drag in the main view.
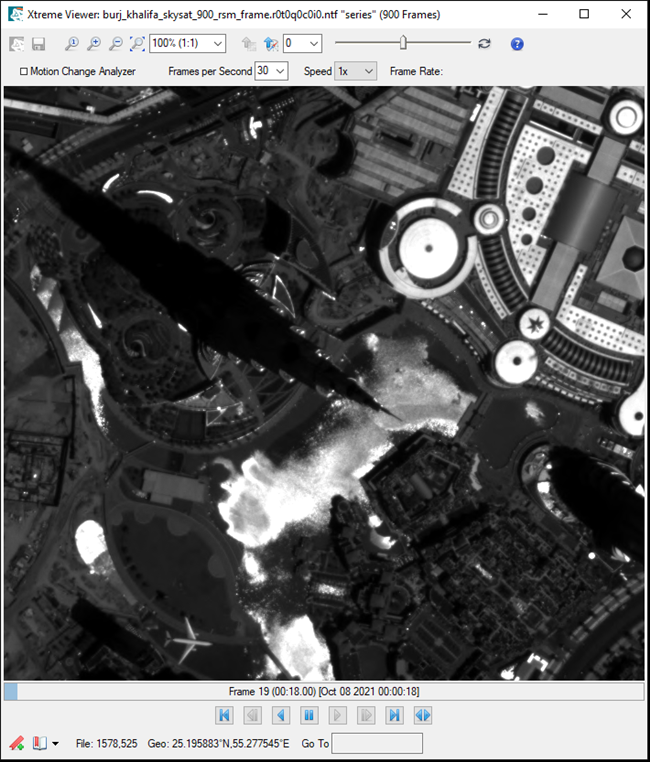
The pixel or map location of the cursor will display below the main view as follows:
- Non-georeferenced files will display only pixel location.
- Georeferenced files will display either latitude and longitude in Lat/Lon Decimal Degrees, or the map coordinates.
Zoom, Rotate, Up, and Stretch Controls
Controls for zoom, rotate, and to select which orientation to use for up are described below.
Zoom
Use the zoom tools located in the top toolbar to:
- Zoom to Full Resolution

- Zoom In

- Zoom Out

- Zoom to Full Extent

- Select a preset zoom value from the drop-down list
- Enter a zoom value in the field and press the Enter key
You can also zoom with the following:
- Roll the mouse wheel to zoom in or out
- Press the Shift key and drag the cursor to select an area to zoom in to
Rotate
To rotate the view:
- Press the Ctrl button and drag the cursor in a clockwise or counterclockwise direction to rotate
- Select a preset rotate value from the drop-down list
- Enter a rotate value in the field and press the Enter key
North Up/Up is Up
Click one of the following buttons to orient the view as desired.
-
The North Up  button rotates the display in the current view so that North is at the top of the view. This option is only available for georeferenced images.
-
The Up is Up  button rotates the display in the current view so that objects (especially buildings) are oriented vertically with your monitor. If the image contains rational polynomial coefficient (RPC) or Community Sensor Model (CSM) information, ENVI uses that to compute the rotation angle.
Stretch
Move the slider bar to apply a contrast stretch to the animation on-the-fly. Click the Reset Contrast button  next to the slider to return to the default contrast.
Player Controls
The buttons located at the bottom of the player control the animation. The Frame progress bar appears above the buttons.

From left to right, the player buttons do the following:
- Go to the Beginning jumps to the first frame in the series.
- Step Backwards goes backwards through the frames, one frame per click.
- Play Backwards animates the series as a loop, starting with the last frame of the series and ending with the first frame.
- Pause pauses animation.
- Play Forwards animates the series as a loop, starting with the first frame of the series and ending with the last frame.
- Step Forwards goes forwards through the frames, one frame per click.
- Go to the End jumps to the last frame in the series.
- Play Back and Forth animates the series as a back and forth loop.
Another way to animate the frames is to roll the mouse wheel. Hold the cursor over the Frame progress bar until the cursor pointer becomes a hand, then roll the mouse wheel forward or backward.
Animate a Subset of Frames
You can set limitations on the range of frames to include in the animation:
- Hover the cursor over the Frame progress bar to see a pop-up box with the frame number.
- Move the cursor over the progress bar until you see the number of the frame you want to start at, then right-click and select Select Bower, or double-click. A vertical mark is added to the progress bar
- Move the cursor over the Frame progress bar again until you see the number of the frame you want to end with, then right-click and select Select Bower, or double-click. A second vertical mark is added, and a rectangular box appears in the progress bar to indicate there is a selected subset of frames.
- Click the Play Forwards, Play Backwards, or Play Back and Forth buttons, and the animation will be limited to the frames that were selected.
To remove the bowers:
- Hover the cursor over the Frame progress bar.
- Right-click and select Clear Bowers.
The next time you click any of the Play buttons, the animation will include all of the frames.
Save Animation to an MPEG File
You can save a specified duration of the animation to an MPEG file.
-
Click the Save Animation to MPEG button  . The Save Animation to MPEG dialog appears.
-
Enter the duration of the animation you want to save, in seconds.
-
Enter a path and filename.
-
Click OK.
Motion Change Analyzer, and Speed Controls
To highlight changes in the animation with color, enable the Motion Change Analyzer check box. Unchanged areas will appear in grayscale, old changes (for example, where a flying airplane wing was positioned in the previous image of the series) will appear in red, and new changes (e.g., where a flying airplane wing is in the current image) will appear in cyan. If the input data is in color and this option is enabled, the animation will still be shown as grayscale so that the highlight colors will be visible.

To adjust the animation speed, use the controls described below:
- When in a Play mode, the Frame Rate will display the current FPS of the animation. Use the Frames per Second drop-down list to change this setting on-the-fly.
- You can additionally increase or decrease the speed of the animation from the Speed drop-down list.
Frame Controls
Use the following controls to perform actions on frames.
Bookmarks
You can add bookmarks to frames and return to them later. A bookmark saves the zoom, location, and time. Bookmarks are retained only for the current Xtreme Viewer session.
- To bookmark a frame, click the Add Bookmark button.

- To go to a bookmarked frame, select the bookmark from the Saved Bookmarks drop-down list.

- To clear the bookmarks from the current Xtreme Viewer session, select Saved Bookmarks > Clear Bookmarks.
Go To
Using the Go To field, you can jump to a specific frame by entering a frame number, Pixel or Map coordinates, or time value.
- To go to a frame by number, enter the specific frame number.
- To go to a frame by Pixel or Map coordinates:
- Enter PixelX,PixelY as x,y points.
- Enter MapX,MapY as x,y points. If the x and y values are greater than 30,000, ENVI assumes it is a map coordinate.
- Enter Lat,Lon in decimal degrees format. For example: 32.8753,-95.7771.
- To go to a frame by time, use ":" to separate hours and minutes and "." to separate minutes and seconds. For example:
- Enter 10.0 to go to the frame for time 00:10.00.
- Enter 14:27 to go to the frame for time 14:27.00.
Open in ENVI
To send the currently displayed frame to ENVI, click the Open Frame in ENVI button. 
See Also
Animation