The Data Selection dialog appears when you select File > Save As from the menu bar, or when you use a tool or workflow that prompts you to select an input file.
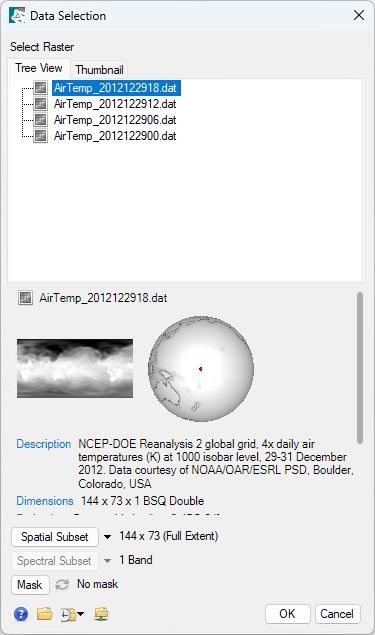
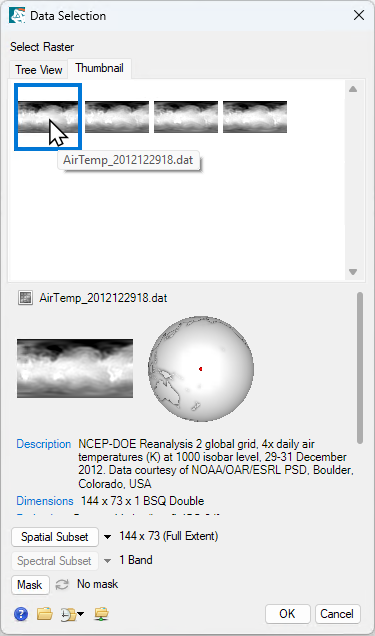
You can select a file by filename in the Tree View tab (left image) or select the Thumbnail tab (right image) to choose a file by a thumbnail image. To see filenames in the Thumbnails tab, hover over an image.
If a raster file contains map information, the lower part of the dialog displays a world map with a red location marker to indicate where the data was collected:
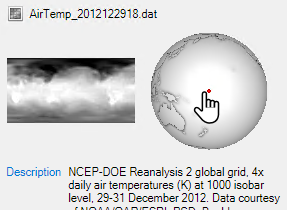
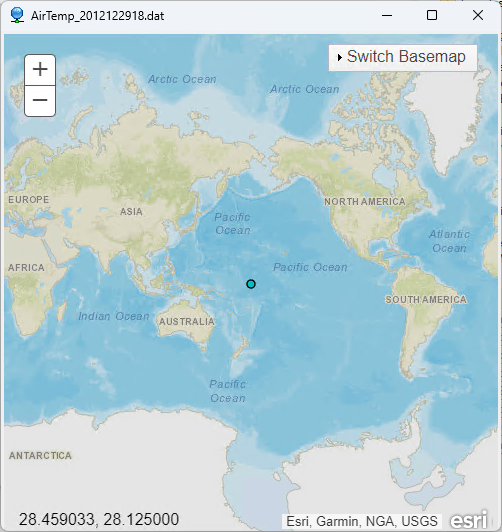
Click on the marker to open a Reference Map Link (Powered by ESRI®) and zoom to the location:
Metadata for the file displays lower part of the dialog.
You can optionally perform subsetting or masking on the data before you save it or open it for processing. See the following for details:
Saving Files
The Data Selection dialog appears when you select one of these File > Save As options from the menu bar:
- Save Raster As (ENVI, NITF, TIFF, DTED)
- Save Vector As
- Save Annotation As ANZ
Open Files
The Data Selection dialog appears when you are using a tool or workflow and you are prompted to select an input file. Clicking the Browse button  next to the input field and the Data Selection dialog appears.
- To open a file from disk, click the Open File icon
 in the Data Selection dialog. In the Open dialog that appears, select an input file and click Open.
- To select a recently-opened file, click the Open Recent icon
 and select a file to open from the list.
- To access a remote dataset using the Open Remote Dataset dialog, click the Open Remote Dataset icon
 .
.
Opened files will be added to the Select Raster section of the Data Selection dialog.