This model performs image-to-image registration to geometrically align two overlapping images. The images have different viewing geometry and different terrain distortions. Tie points are automatically generated and used to align the images to the same coordinate system.
This example is designed to show concepts without using any specific datasets. You must supply your own datasets to follow the steps here.
You will also learn how to create a metatask from the model. A metatask is a single task that encloses multiple Task nodes. It helps to simplify the model and to ensure that others can run the model using their own input datasets.

See the following sections:
Input Parameters
An Input Parameters node allows any model user to select input through an Input Parameters dialog.
- Start the ENVI Modeler.
- Add an Input Parameters node to a new model.
Generate Tie Points by Cross Correlation
Use this node to automatically generate tie points using a Cross Correlation method. This method works well for registering images with the same modality (for example, optical to optical).
- Add a Generate Tie Points by Cross Correlation node to the model.
- Click the
 button in this node to see its parameters. This example uses default values:
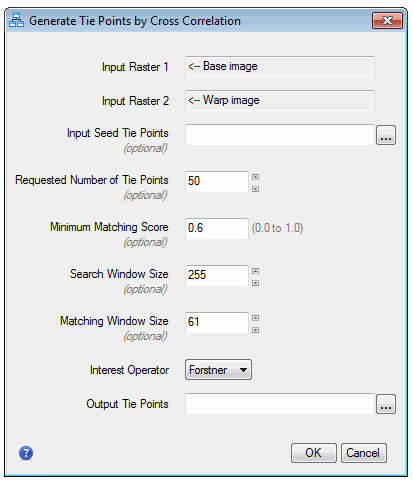
See the Image Registration topic for details on the parameters used in this task.
- Click Cancel in the Generate Tie Points by Cross Correlation dialog to dismiss it.
- Add a connector between this Task node and the Input Parameters node:

The Connect Parameters dialog appears. The buttons on the right are the input parameters for Generate Tie Points by Cross Correlation that you want to expose to model users. In this example, users will select two images: one for the base image and another for the image that will be warped to match the base image.
- Click the Input Raster 1 and Input Raster 2 buttons on the right side. Lines are drawn between the Add New Inputs(s) button on the left and the buttons on the right.
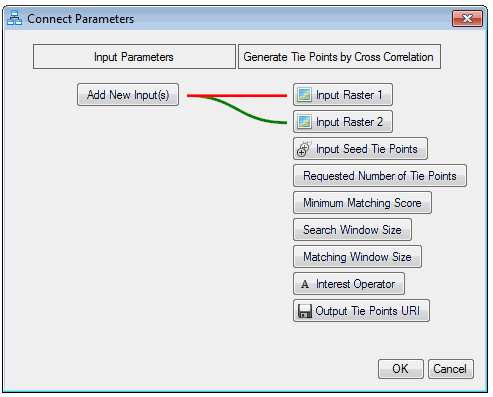
- Click OK in the Connect Parameters dialog.
- Click the
 button in the Input Parameters dialog. Here, you can rename the labels for the input parameters.
- Select Input Raster 1.
- In the Edit field, rename it to Base Image.
- Select Input Raster 2.
- In the Edit field, rename it to Warp Image.
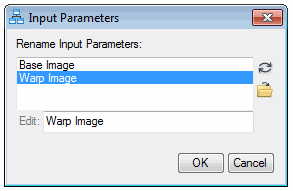
- Click OK.
Filter Tie Point by Global Transform
- Connect a Filter Tie Point by Global Transform node to the previous node. This Task node uses a first-order polynomial transform or rotation/scaling/translation (RST) transform to constrain the location of the tie points.
- Click the
 button in the Task node to see its parameters. This example uses default values. See the Image Registration topic for details on the parameters used in this task.
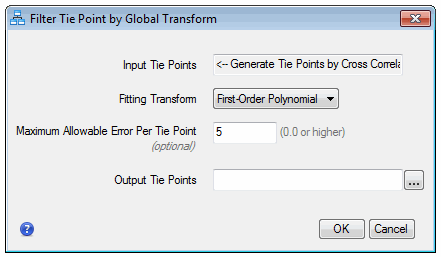
Image to Image Registration
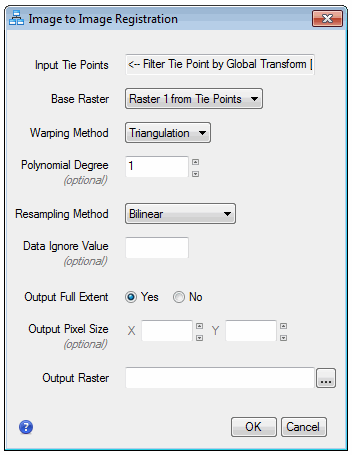
- Connect an Image to Image Registration node to the previous node to complete the image registration.
- Click the
 button in the Task node to see its parameters. This example uses default values:
The model looks like this so far:

Output Parameters
- Connect an Output Parameters node (located in the Basic Nodes list) to the Image to Image Registration node. Adding an Output Parameters node ensures that all users can access the model output.

If you were to run the model now, the resulting image from Image to Image Registration will export to the ENVI temporary directory (determined by the Temporary Directory preference). Since you will create a metatask from the model to possibly share with others, you should display a dialog for users to choose the location of the output image. You will do this next.
- Drag the Input Parameters node down, then add a connector between this node and the Image to Image Registration node. The Connect Parameters dialog appears:
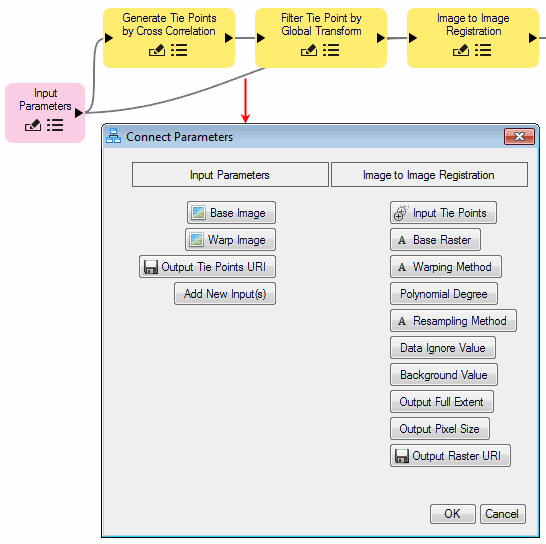
- Click the Output Raster URI button on the right, then click the Add New Input(s) button on the left. A line is drawn between the two buttons.
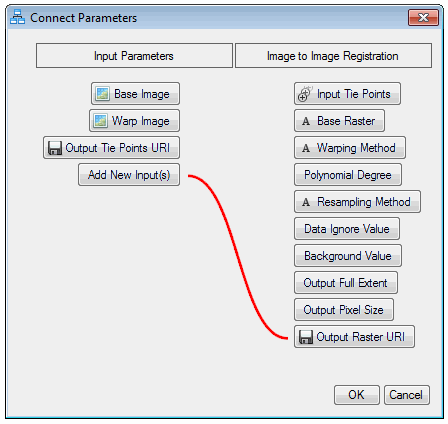
- Click OK in the Connect Parameters dialog.
Now is a good time to make sure the model runs successfully before creating a metatask.
Run the Model
- Click the Run button in the ENVI Modeler. After a few seconds, the Input Parameters dialog appears.
- Select a Base Image.
- Select a Warp Image. This image will be warped to match the base image.
- Click the
 button next to Output Raster URI. Choose an output filename and location for the Image to Image Registration result.
Here is an example:
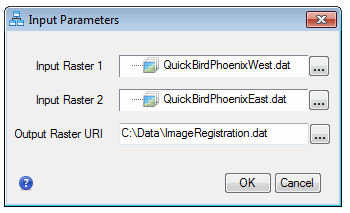
- Click OK. The model runs and creates an output image in the directory that you specified.
- Save the model.
Create a Metatask
- Click the Create Task from Model button
 in the ENVI Modeler menu bar. The entire model is collapsed into a single Task node in a new "Untitled" tab; for example:
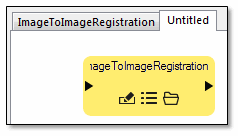
- Click the
 button and rename the Task node; for example:
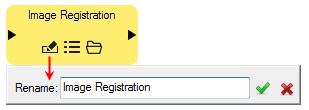
The metatask is ready for use. Here are some different things you can do with it:
- From the ENVI Modeler menu bar, select File > Save As and save the model (with the single metatask) to a new .model file.
- Connect the metatask to other tasks in a larger workflow.
- Save the model containing the metatask to a task file (.task) on disk. Then you can share the task with others or use it in the ENVI API. See the Generate Metatasks section of the Generate and Run Code topic for instructions.